First day
Getting Started
Sign in, find your workspace, and complete the first five setup steps every user should know.
1. Sign in and open the app
- Open the app URL
Your administrator shares a link to the MRP app. It looks likehttps://apps.erp.ai/apps/<app-id>. - Sign in with your organization account
Use the email and password your admin provisioned. If single sign-on is enabled, use your corporate identity provider. - Land on your home screen
Your role determines the default page. Admins and planners see the MRP dashboard and workbench; operators see work orders; warehouse staff see inventory and receiving.
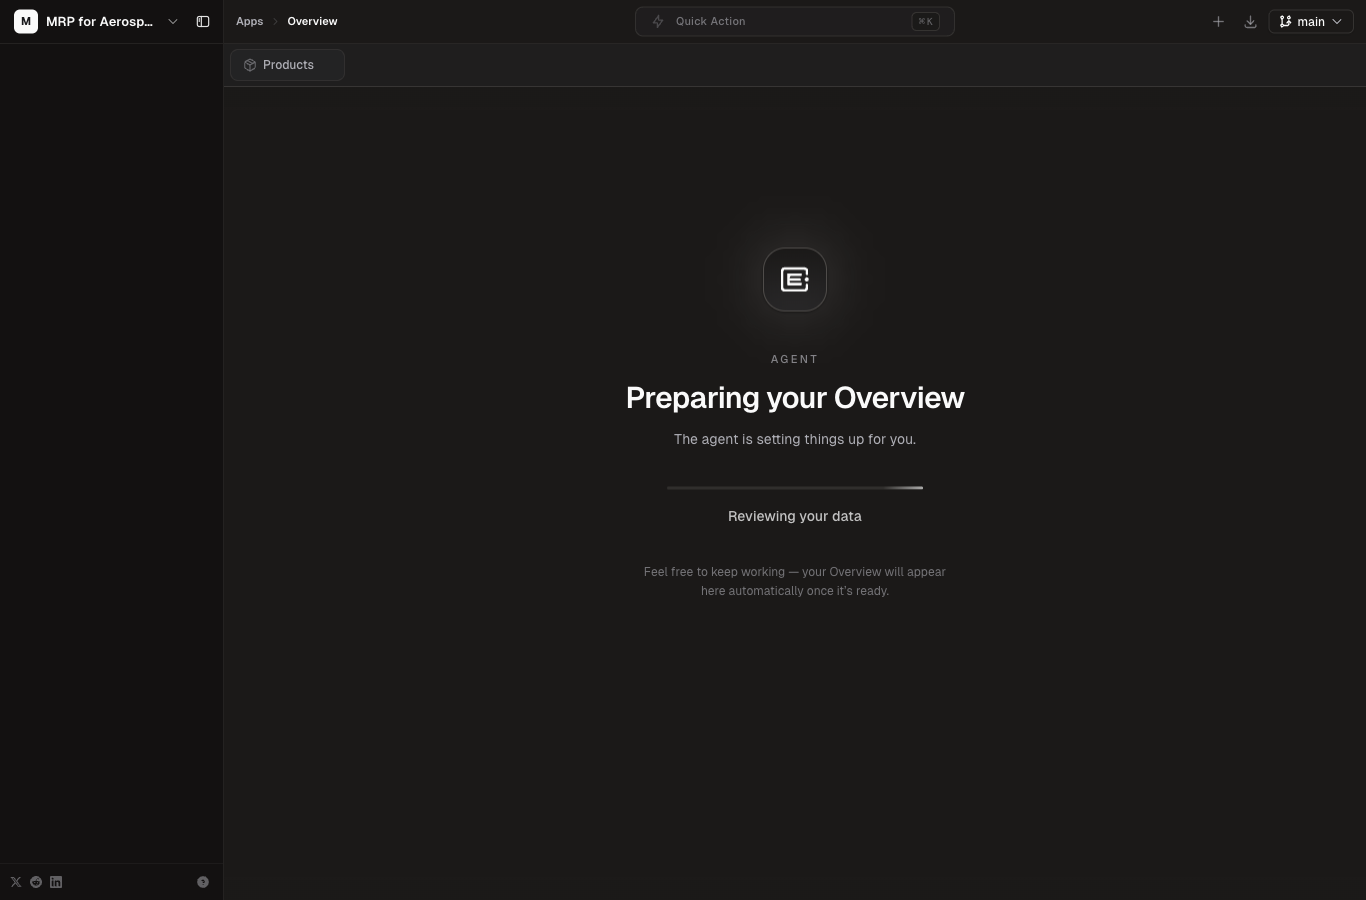
apps.erp.ai — MRP for Aerospace & Defense
2. Understand the workspace layout
Every screen in the app shares the same structure:
- Left sidebar: tables grouped by category — Foundation, Demand to Cash, MRP, Procure-to-Pay, Inventory & Warehouse, Shop Floor, Finance, and Compliance.
- Top bar: search across tables, quick-create, and your user menu.
- Custom pages: the app ships with dedicated workspaces such as Work Orders Workbench, MRP Run Dashboard, and Inventory Dashboard. Look for them in the sidebar under MRP Pages.
- Record forms: every table opens a form with fields grouped into sections, and related records as tabs (line items, linked orders, documents).
3. Find your role and its academy
The app defines role-based access. Find your role in the table below and open the matching academy. Each academy has 4–7 courses with lessons, exercises, quizzes, and progress tracking.
| Role | What they do | Academy |
|---|---|---|
| Admin | System setup, users, roles, governance, data model | Admin Academy |
| Production Planner | MRP runs, BOMs, routings, work order release | Production Planner |
| Procurement Planner | Sourcing, POs, suppliers, certified materials | Procurement Planner |
| Sales Clerk | Customers, sales orders, O2C | Sales Clerk (O2C) |
| Warehouse Clerk | Receiving, stock, issue, ship | Warehouse Clerk |
| Shop Floor Operator | Work order execution, labor reporting | Shop Floor Operator |
| Accountant | Invoices, payments, financial reports | Accountant |
| Finance Manager | Finance module and reports oversight | Accountant (advanced) |
| View Only | Read access for auditors and leadership | Overview |
4. Complete the setup checklist
If you are an administrator or planner setting up the app for the first time, complete these in order:
- Create company and facility records
Companies and Facilities (Foundation) anchor every other record. - Add customers and suppliers
Sales needs customers; procurement needs suppliers. Add them before orders. - Create products
Every material, part, and finished good lives in Products. Set SKU, unit of measure, and compliance flags. - Build BOMs and routings
Assemble products into Bills of Material and define Routing Operations with labor and machine standards. - Load opening inventory
Use the Inventory table to record on-hand stock by warehouse, with batch/lot and certificate references. - Run your first MRP run
Open the MRP Run workflow to generate net requirements. - Invite users and assign roles
Admins assign roles so each person sees only what they need.
⚠️
Compliance noteFor ITAR/DFARS-controlled items, keep material certifications and country-of-origin data complete before any purchase or shipment. The app records these fields on products, inventory lots, POs, and shipments.
5. First five actions to try
🧭
Create a product
Foundation — the starting point for everything.
🧭
Create a sales order
Capture demand that flows into MRP.
🧭
Create a purchase order
Source certified material from suppliers.
⚙️
Run MRP
Turn demand into net requirements.
🧭
Complete a work order
Watch finished goods move into inventory.
Next steps
Ready to go deeper? Jump to your role academy, read the operating procedures, or explore the data model.